Custom ROMs are yet another reason why Android is the best. Because it’s an open-source system, you can flash other ROMs on your Android phone, aside from the original pre-installed version. Flashing custom ROMs can be very handy when your device runs out of support, switching to custom ROM will enable you to enjoy the latest Android Operating system.
However, POCO is yet to release the kernel source of the POCO X3 NFC, and not many Custom ROMs have been designed for the device. But over there at XDA-developers, they’ve developed a Nitrogen OS based Android 10 custom ROM for the POCO X3 NFC. And with this guide on how to flash custom ROM on POCO X3 NFC/X3, you can finally flash your first custom ROM.
How to flash custom ROM on POCO X3 NFC/X3

Prerequisites
- Create a backup for your device and move it to your personal computer
- Unlock the device Bootloader – Here
- Download a custom recovery ROM
Steps for flashing custom ROM on POCO X3 NFC/X3
If you’re going from MIUI to Custom ROM, follow the below process.
- Step 1. Move the custom ROM you downloaded to your SDcard or your OTG flash drive
- Step 2. Boot the device to recovery
- Step 3. Flash the required firmware mentioned for the ROM
- Step 4. Flash the custom ROM
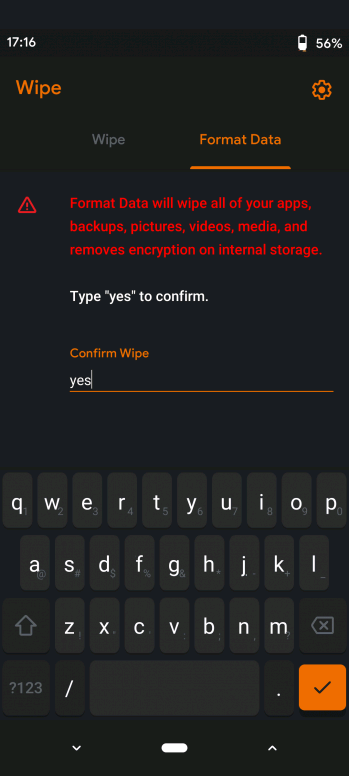
- Step 5. Format Data ( the process will wipe all data on your internal storage)
- Step 6. Reboot, and that’s it. Also, you can root after the first boot by flashing magisk)
Moving from Custom ROM to another Custom ROM

Backup your files (always important)
- Step 1. Download the Custom recovery ROM
- Step 2. Disable your device lock screen password
- Step 3. Boot to recovery
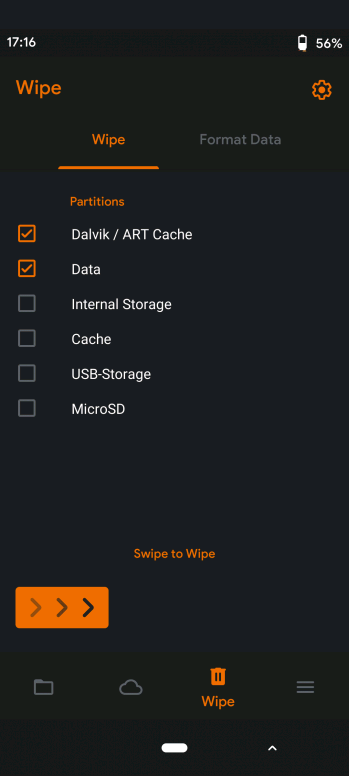
- Step 4. Wipe Data, Cache, and Dalvik Cache
- Step 5. Flash Custom ROM
- Step 6. Reboot
- Step 7. Format Data if the device is stuck on boot loop
Important Notes
- Always back up your files before attempting any flash.
- Format Data while upgrading Android versions
