Recording your screen in Windows 10 is a simple process that allows you to capture personal video calls, university lectures, business conferences, and more while retaining the original audio. If you ever find the need to screen record on your Windows 10 PC but don’t know how to go about that, don’t fret!

This guide will walk you through the different ways to record your screen on Windows 10 with audio. So, let’s dive in
3 Easy Ways to Record Your Screen on Windows 10
Method #1: Using the Xbox Game Bar
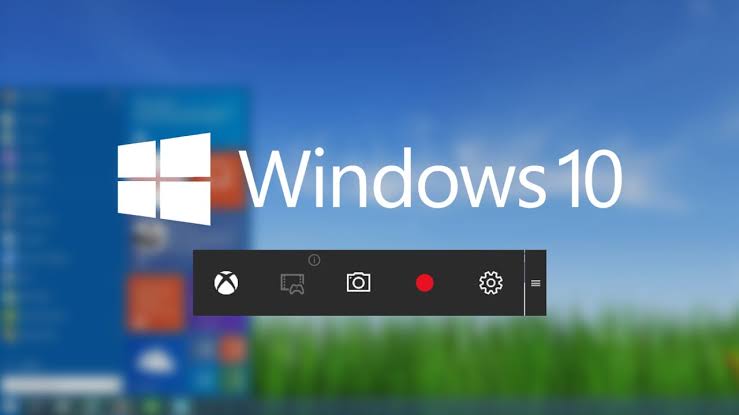
The Xbox Game Bar is a built-in screen recorder on Windows 10 that also captures audio. Originally designed for gameplay, it can be used to record any screen activity, though it can only capture one app at a time. The advantage of this program is that it comes pre-installed on your computer.
You can customize various recording settings, such as video quality, audio bitrate, and frame rate. If you intend to use the Game Bar for gameplay recording, it offers additional features like Xbox Live chat integration without exiting your games. Overall, it serves as a good basic screen recorder with audio for short screen recordings.
Follow these steps to screen record on Windows 10 with audio using Game Bar:
- Launch the screen and audio recorder on your Windows 10 PC. If it’s not installed, download the installation file from the Microsoft Store using the provided link and complete the installation.
- If Game Bar is not activated on your PC, enable it first. Press the Windows + I keys to open the Settings menu, select Gaming, click on Xbox Game Bar, and toggle the switch to On.
- Open the Captures tab to adjust your desired settings. Set the video frame rate and quality, change the maximum recording length, and choose the output folder.
- To start recording your Windows screen with audio, press Windows + G to bring up the recording panel. Alternatively, you can press Windows + Alt + R to automatically start recording.
Method #2: Using Online Screen Recording Tools
Another option for screen capture is to use an online screen and audio recorder designed for Windows. There are several tools available, and for the purpose of this guide, we’ll focus on the Screen Capture tool. This option is suitable if you want to save disk space or simply prefer not to install any software.
Follow the instructions below to record your PC screen with audio online:
- Open your preferred browser and go to Screencapture.com.
- Click on the Sound icon to capture your screen along with audio. If you wish to record your microphone or webcam, select the corresponding icons as well.
- Click the Start Recording button and choose the area of your screen you want to capture. To stop recording, click the Stop Recording button.
Method #3: Using a Browser Extension
Recording your screen in Windows 10 can also be achieved using a browser extension such as Vidyard. This extension allows you to easily capture your browser activity and record sound. Additionally, it offers a feedback feature that can display information about who is viewing your live stream, making it useful for businesses looking to market their products.
Here’s how to record your screen using Vidyard:
- Download and install the Vidyard extension.
- Log in to your account or create a new one. Then, click the Vidyard icon to access the recording options.
- Select the appropriate icons to capture your screen, webcam, or both. If you want to include microphone audio, ensure that the correct device is selected.
- Click the Start Recording button to begin recording. To stop recording, click the Vidyard icon. You can now play or share your video.
FAQs
Does Windows 10 have a screen recorder?
Yes. Windows 10 has a screen recorder, the same as Windows 11. The idea is for users to be able to screen-record during gameplay, but you can record anything on your screen using the feature. You can learn how to screen record on Windows 10 using one of the options we listed above.
How do I record my screen on Windows 10 without an app?
The Game Bar tool on Windows 10 is a great option to record your screen without an app. However, you can only record one application at a time, unlike third-party apps that allow screen recording of multiple apps simultaneously.
- To get started, launch the application you wish to record, and make sure to close other apps to avoid recording unwanted audio
- On your keyboard, press Windows + G to open the Game Bar
- On the Capture window, you will see the camera icon, click that if you want to grab a screenshot. To screen record, hit the circular button with a dot at the center or use Windows + Alt + R.
- While recording, you will see a timer, recording controls, and a microphone. The much is to switch on and off external audio to record commentary, while internal sounds are recorded by default.
- To stop recording, click the stop button or use the combination of Windows + Alt + R.
- A pop-up shows on the right side saying, “Game Clip recorded.” Click on it to see that what you decided is saved in the Captures folder in File Explorer.
Final Words
With these simple methods, you can now easily record your screen on Windows 10 with audio. Whether you choose to use the Xbox Game Bar, online screen recording tools, or browser extensions like Vidyard, capturing your screen has never been more accessible. Start recording and share your video content with ease.
