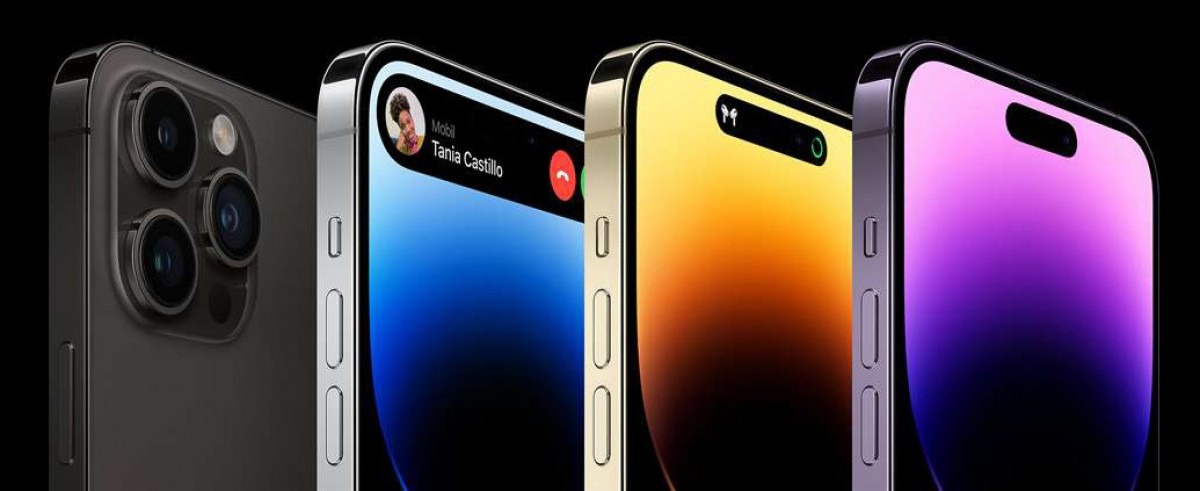
Whether you’re engaging in conversations with friends on Discord, attending virtual business meetings on Zoom, or indulging in a musical session, having a microphone for your computer is incredibly useful. But what if you don’t have one readily available?

Fortunately, the solution might just be in your pocket: your smartphone. By using your smartphone as a PC microphone, you can easily address this issue with a simple setup. In this guide, we’ll walk you through the steps on how to use your smartphone as a microphone on Windows. So, let’s dive in!
Setting Up Your Phone as a Dedicated Mic on Windows 10/11
Before you begin using your phone as a dedicated microphone on Windows 10 or 11, ensure that your hardware is compatible and adequately set up. Here are a few requirements and compatibility considerations to keep in mind:
- Make sure you have a smartphone with a functional microphone. Most smartphones, regardless of the operating system, have built-in microphones that can be used for this purpose.
- Ensure you have a Windows 10/11 computer with a stable internet connection. It is recommended to use the latest version of Windows available and keep your system up to date for optimal performance.
How to Use Your Smartphone as a Mic on Windows
Method #1: Using a Cable
Using a cable to connect your phone to your computer is the simplest way of using it as a dedicated microphone. Follow these steps:
For Android:
- Download and install the Microphone app from the Google Play Store on your Android.
- Next, Connect one end of an audio extension or AUX cable to your Android phone and the other end to the microphone port on your computer.
- If prompted to select a device on your computer screen, choose “Microphone” from the list.
- On your Windows PC, go to Settings by clicking on the Start menu and selecting “Settings” or using the Windows + I keyboard shortcut.
- In the Settings window, click on the “System” tab in the left panel and then click on “Sound” in the right panel.
- Scroll down to the bottom of the Sound settings page and click on “More Sound Settings.”
- In the new window, click on the “Recording” tab and ensure that “Microphone” is set as the default device.
- Next, open the “Microphone” app on your Android phone and enable the microphone.
- Adjust the sound settings in the app if needed.
- With that in place, your Android phone is now ready to be used as a microphone for your PC.
For iPhone:
- Download and install the Megaphone app from the App Store on your iPhone.
- Next, connect your iPhone to your PC’s microphone jack using an audio cable compatible with your iPhone model (3.5mm Aux audio cable for iPhone 6 and earlier models or an Apple lightning headphone jack adapter with the proper cable for iPhone 7 and later models).
- Open your PC’s “Start” menu, go to “Settings,” and select “Sound.”
- In the Sound settings, choose the microphone device corresponding to your iPhone connection in the “Recording” or “Input” tab, and set it as the default recording device.
- Launch the Megaphone app on your iPhone, playback audio, and speak into the iPhone’s microphone.
- Check the Megaphone app screen for an indicator that should move with your voice.
- With that in place, your iPhone is now ready to be used as a microphone for your PC.
Method #2: Using WiFi/Bluetooth
Wireless connections provide more convenience but require additional effort. You can use either a WiFi or Bluetooth connection to connect your phone to your computer. Follow these steps:
For Android:
- Download and install the Android version of the AudioRelay app from the Google Play Store on your phone. Grant the required permissions.
- Download and install the AudioRelay Windows client from the AudioRelay website, and run it as administrator.
- Next, download and install the VB-Cable Virtual Audio Device for Windows.
- Open Windows Settings, go to the “System” tab, click on “Sound,” and then click on “More Sound Settings.”
- In the Playback and Recording tabs, locate the “Cable Input” and “Cable Output” devices, respectively.
- Connect your Android phone and PC to the same Wi-Fi network and ensure they can communicate with each other on the network.
- Open the AudioRelay app on your Android phone, switch to the “Server” tab, and tap on “Microphone” under “Resources.”
- Open AudioRelay on your Windows PC, select “Cable Input” under “Audio Devices,” and choose your Android phone under “Servers.”
- Open the application (e.g., Skype or Discord) where you want to use the microphone, and set the input device to “Cable Output.”
- Your Android phone can now be used as a wireless microphone for your PC.
For iPhone:
- Head over to the WO Mic website and download the PC client.
- Next, download and install the “WO Mic” app from the App Store on your iPhone.
- Launch the PC program, establish a connection, and choose a transport type: Bluetooth, Wi-Fi, or Wi-Fi Direct.
- For Bluetooth connection: Pair your iPhone with your computer via Bluetooth and set the transport type to Bluetooth in both the PC program and phone app’s settings.
- For Wi-Fi connection: Ensure your phone and computer are connected to the same Wi-Fi network, set the transport type to Wi-Fi in both the phone app’s settings and PC program, and enter your phone’s IP address in the PC program.
- Alternatively, use Wi-Fi Direct by connecting your computer to your phone’s hotspot.
- Select “WO Mic Device” as the audio input for video chatting or recording, or set it as the default recording device.
- With that in place, your iPhone is now ready to be used as a wireless microphone for your PC.
Conclusion
There you have it on how to use your smartphone as a microphone on Windows. While using your smartphone as a microphone on Windows might not be ideal for everyone, it’s a good alternative for those who need to get talking quickly and don’t have access to a traditional microphone. Meanwhile, with the steps above you should be able to get things started easily on your smartphone.
