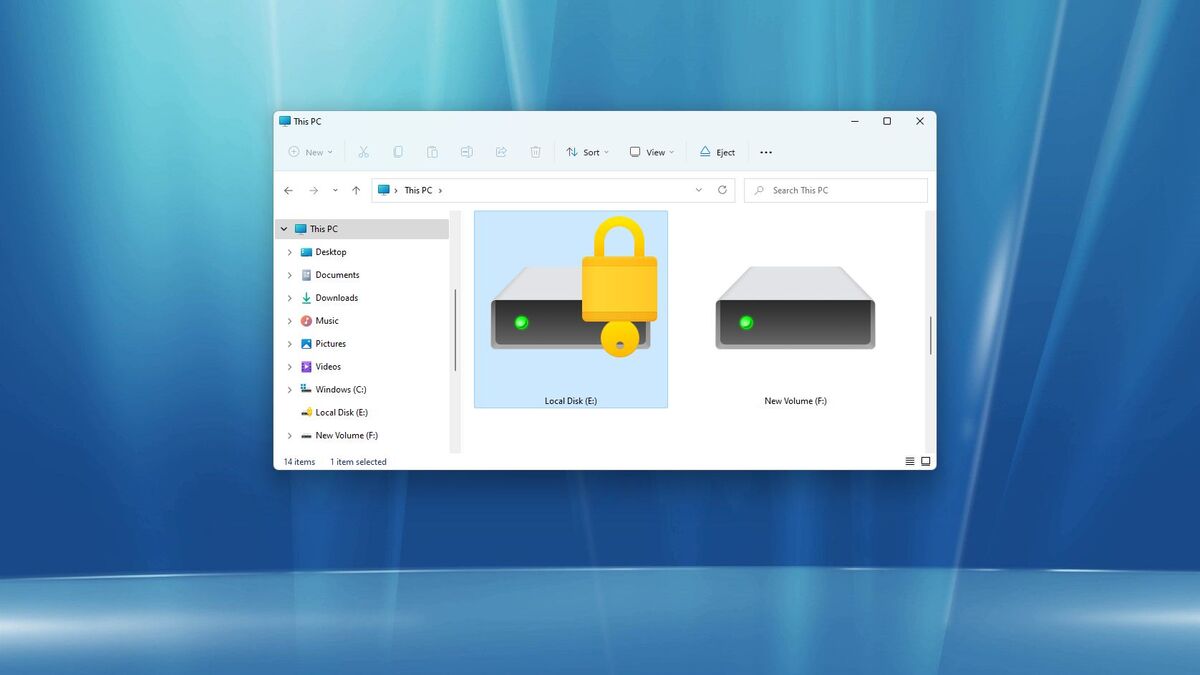
How To Password-Protect a Folder on Windows 11
In today’s digital age, keeping our personal information secure is more important than ever. Whether it’s confidential documents, sensitive photos, or financial information, we all have files that we want to keep private. One way to ensure that these files are safe is to password-protect them.

Password protection adds an extra layer of security to your files, preventing unauthorized access by anyone who doesn’t have the correct password. Below, we will walk you through the step-by-step guide on how to password-protect a folder on Windows 11. With that, you can keep your private files secure and give yourself peace of mind.
How to Password-Protect a Folder in Windows 11 Using Encryption
For Windows 11 Pro users, you can directly encrypt files within the Windows operating system. However, if you’re using Windows 11 Home, these steps won’t be available, and you’ll need to use another method. With that in mind, here are the steps to follow:
- Launch File Explorer and navigate to the folder you want to secure.
- Right-click on the folder and select Properties.
- Under the General tab, click on the Advanced button.
- At the bottom of the window, check the option to Encrypt content to secure data.
- Click OK and then Apply to save your changes.
- Choose whether you want to Apply changes to this folder only or Apply changes to this folder, subfolders, and files, and then click OK.
- If you haven’t backed up your file encryption certificate and key, you’ll see a prompt encouraging you to do so. Click on Back Up Now and follow the instructions to save a copy of your encryption key.
- Enter a strong password and click OK.
- To access your locked folder, double-click it as you would normally. When prompted, enter your password, and you will be able to access your folder
How to Password-Protect a Folder in Windows 11 Using Third-Party Apps
If you’re using Windows 11 Home or you prefer not to use the built-in encryption in Windows 11 Pro, third-party archiving apps like WinRAR can be used. While this app asks you to purchase a license, you can use the evaluation copy to encrypt and decrypt your folder.
To password-protect a folder in Windows 11 using WinRAR, follow the steps below;
- Download and install WinRAR.
- In File Explorer, navigate to the folder you want to lock.
- Right-click on the folder and choose WinRAR.
- Check the “Delete Files After Archiving” option to ensure that you only have the protected archive and not an unprotected folder.
- Click “Set Password”.
- Enter a strong password and click “OK”.
- Your archive will now be created.
- To open your archived folder, double-click it in Windows Explorer.
- Double-click the folder name to view its contents.
- When you try to open a file within the folder, you will be asked to enter the password.
- After entering the correct password, you can open and access the file.
- If you decide to unlock your folder, select the folder and click “Extract To”.
- Enter the destination location for the folder and click “OK”.
- You will be asked for the password, and once you enter it correctly, the folder will be extracted to the selected destination and unlocked. Also, if you no longer need the archive, you can delete it.
Final Words
Password protection is an essential tool for keeping our personal information secure on Windows 11. By following the tips outlined in this guide, you can easily password-protect any folder on your computer. Remember, it’s important to use a strong and unique password to ensure that your files are truly protected.


