How to Disable Microsoft Defender in Windows 11
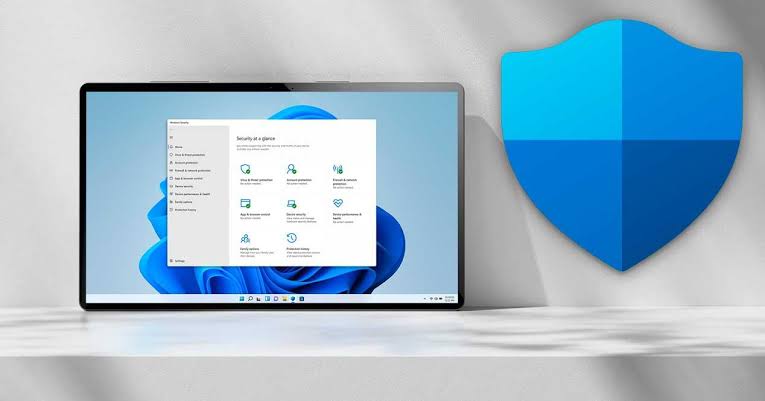
Microsoft Defender is a powerful antivirus software that offers strong protection against malware. It has evolved over time, and you can use it to keep your system safe without the need for any third-party antivirus app.

However, if you find the need to disable Microsoft Defender, either to install and use a specific third-party app that Defender flags as malicious or to reduce system resource usage, you will need to follow some additional steps particularly on Windows 11 PC. In this guide, we’ll show you how to disable Microsoft Defender in Windows 11. So, let’s dive in!
Disable Tamper Protection First
Tamper Protection is a security feature that prevents unauthorized changes to Microsoft Defender settings on your computer. By default, Tamper Protection is enabled, and if you want to completely disable Microsoft Defender, including real-time protection, you must disable Tamper Protection first. Here’s how:
- Press Win + S and type “Windows Security” Click on the “Open” option to launch the app.
- On the home page, click on “Virus and threat protection.”
- In the Virus and threat protection settings section, click on “Manage settings.”
- Scroll down and toggle off the “Tamper Protection” option.
- Finally, close the Windows Security app.
How to Disable Microsoft Defender in Windows 11
Having disabled Tamper Protection, you can now proceed to disable Microsoft Defender permanently using one of the following methods:
1. Disable Microsoft Defender Using Group Policy Editor
The Group Policy Editor is a powerful tool that allows customization of Windows settings. However, it is only available for Windows Pro and Enterprise users. If you have the appropriate version, here’s how to disable Microsoft Defender using the Group Policy Editor:
- Press Win + R to launch the Run command box. Type “gpedit.msc” and press Enter.
- In the Group Policy Editor, navigate to “Computer Configuration” on the home page.
- Go to “Administrative Templates” > “Windows Components.”
- Locate and click on “Microsoft Defender Antivirus.”
- Double-click on the “Turn off Microsoft Defender Antivirus” policy to edit its settings.
- Select the “Enabled” radio button and click on “Apply.”
- Click on “OK” to save the changes and close the Group Policy Editor.
- Restart your system and open Windows Security.
2. Disable Microsoft Defender Using Registry Editor
If you have Windows 11 Home, you can use the Registry Editor to disable Microsoft Defender. However, it is important to create a backup and a system restore point before making any changes to the registry. Here’s how to proceed:
- Press Win + S to open Windows Search and type “Regedit.” Click on “Run as administrator.”
- In the Registry Editor window, go to the address bar and paste the following path: Computer\HKEY_LOCAL_MACHINE\SOFTWARE\Policies\Microsoft\Microsoft Defender
- Right-click and select “New” > “DWORD (32-bit) Value.”
- Name the newly created value “DisableAntiSpyware.”
- Double-click on the “DisableAntiSpyware” value and set the “Value Data” to 1. Keep the base as “Hexadecimal.”
- Close the Registry Editor and restart your system to apply the changes.
- Launch Windows Security and visit the “Virus and threat protection” section. You will see a message saying “No active antivirus provider. Your device is vulnerable.”
3. Disable Microsoft Defender Using CMD
Alternatively, you can use the Command Prompt to disable Microsoft Defender by executing a registry modification command. Follow these steps:
- Press Win + R to launch the Run command box. Type “cmd” and press Ctrl + Shift + Enter to open Command Prompt with administrator privileges.
- Type the following command and press Enter:
reg add “HKEY_LOCAL_MACHINE\SOFTWARE\Policies\Microsoft\Microsoft Defender” /v DisableAntiSpyware /t REG_DWORD /d 1 /f
- After the command successfully executes, you will see a message saying “The operation completed successfully.”
- Type “exit” to close the Command Prompt and restart your system.
4. Disable Microsoft Defender Using a Third-Party Tool
For those who prefer not to tweak the registry or run commands, using a Windows customization program like Winaero Tweaker is an option. This GUI application simplifies the process, allowing you to search for various Windows settings and disable them in a few clicks. Here’s how to do it:
- Visit the Winaero Tweaker website and download the installer file.
- Install Winaero Tweaker and right-click on the application, selecting “Run as administrator.”
- Click on the search icon and type “Defender.”
- Select the “Microsoft Defender/Disable Microsoft Defender” option.
- Click on the “Disable Microsoft Defender” checkbox. Scroll down and click on the “Reboot now” button.
- Wait for your computer to restart. Microsoft Defender will be inactive on your system.
Final Words
Disabling Microsoft Defender in Windows 11 can be challenging due to built-in fail-safe methods in Windows Security. Remember to disable Tamper Protection first, then follow one of the provided methods to disable Microsoft Defender. However, it is important not to leave your system vulnerable to malware infestation, so consider using a reliable third-party antivirus if you decide not to use Microsoft Defender.


