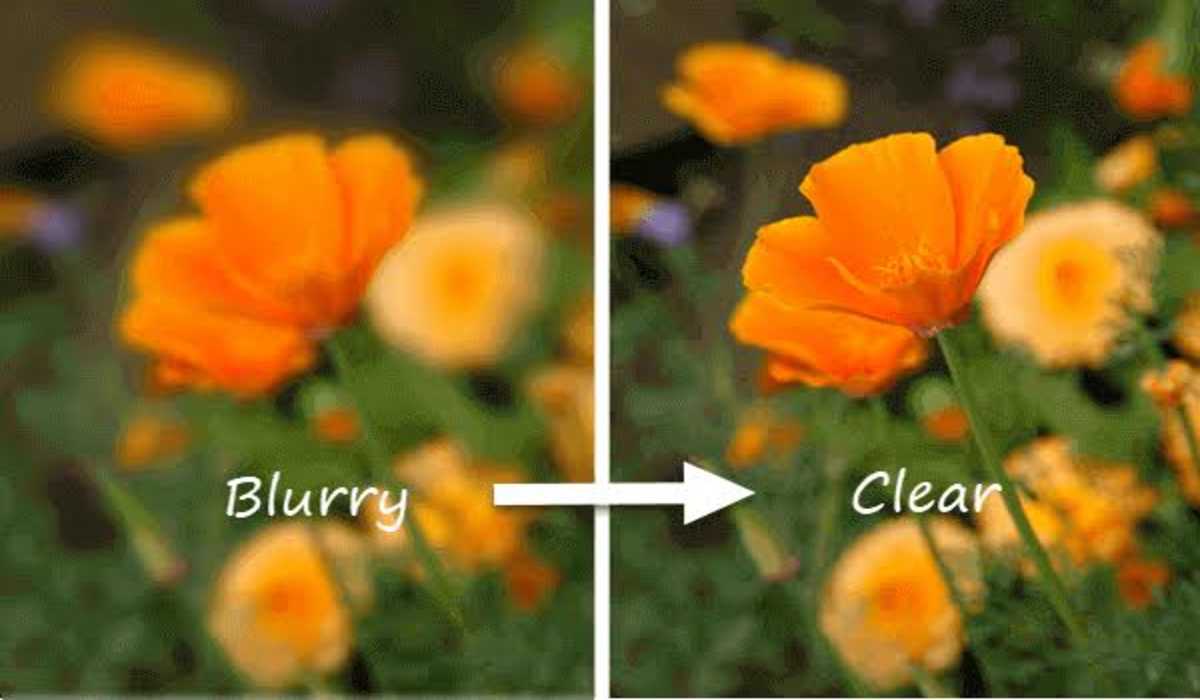
How to Unblur an Image Automatically in very simple steps
Discover how to unblur an image to make it look more clearer and presentable.
When taking pictures, sometimes your camera lens isn’t able to focus on the object you want it to, resulting in an image that’s blurry or fuzzy. Even if you’re using your phone or computer camera, the same thing can happen; either way, the image won’t be clear and crisp. Fortunately, there are ways to unblur an image and make it look like it was taken by a professional photographer on purpose! Here’s how to unblur an image automatically.

Why Images Get Blurry
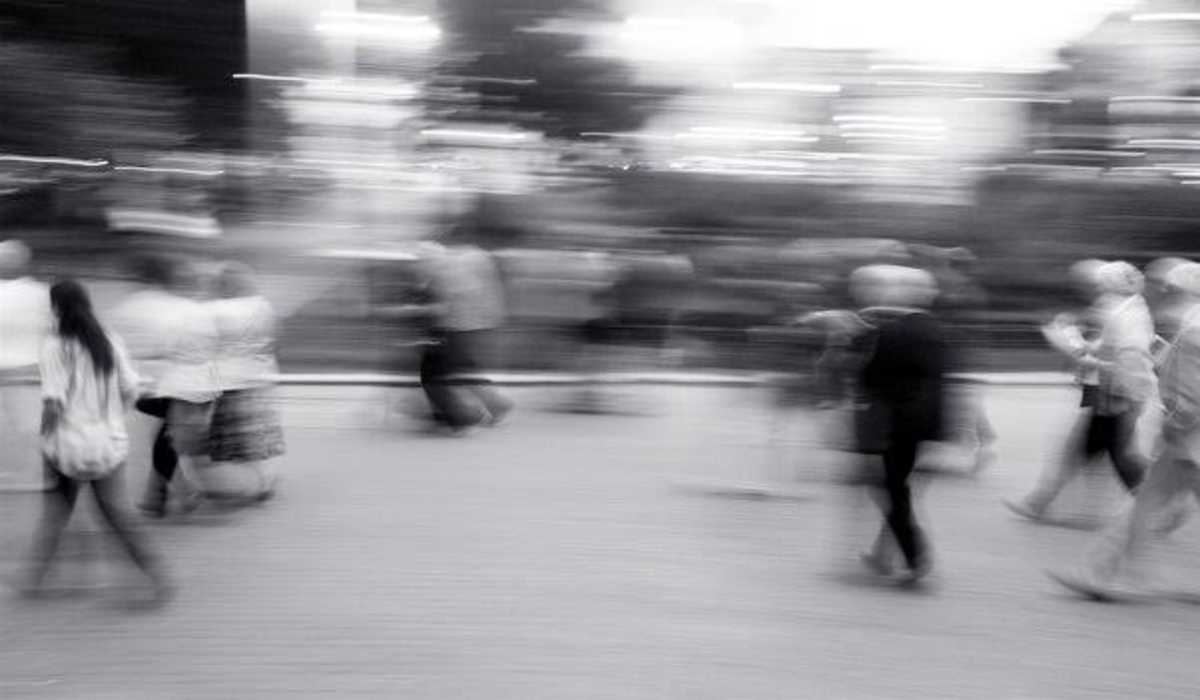
Blurry images can happen for a number of reasons. One of the most common causes is movement. It might be that the subject may have moved too fast while the picture was taken, or someone bumped into your phone/camera, or you had some other kind of movement while snapping the photo.
Another possible reason could be when you’re taking pictures in low light settings and there’s not enough ambient light coming in. When this happens, the camera has to compensate for the lack of light by opening up its aperture, which lets in more light but makes the image darker.
Yet another cause of blurry images is that your camera has a low-resolution setting. If this is the case, then any details that were captured by your camera will be too small to see clearly. To counteract blurry photos caused by a low-resolution setting, try using Fine or Normal quality modes instead of Standard.
How to Unblur an Image
For this guide, we will be using the PhotoDirector tool, one of the most complete photo editing software, to sharpen our blurry images.
PhotoDirector comes in with a built-in deblur tool with which to unblur images in one click. With this software, you can sharpen your image to a desirable level by using its slider tool. To unblur images using PhotoDirector, follow the below steps:
- Download PhotoDirector and launch it.
- Drag and drop your blurry image into the PhotoDirector Library.
- Click on Guided at the top, then scroll down and click on Improve/Remove to open the drop-down menu.
- Now click on Deblur, then select Apply.
- To adjust the strength of the deblur, you can use the slider bar, or input a number if you know the specifics you want.
- Click Save As, give your image a name and choose where to save it.
If you wish to edit the photo more after unblurring, you have the option. You can also upload it to your social profiles or print it directly.
