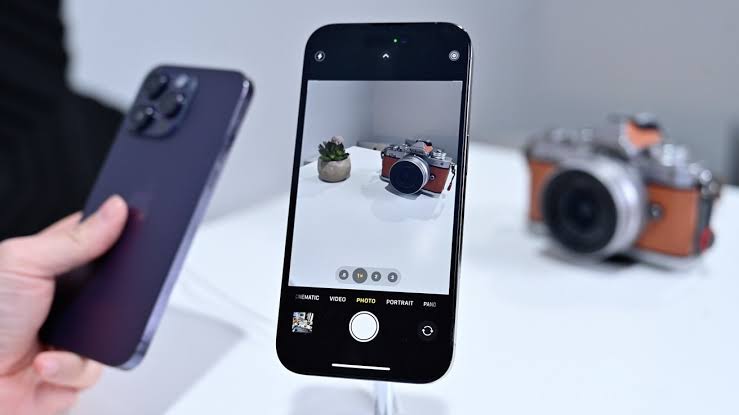
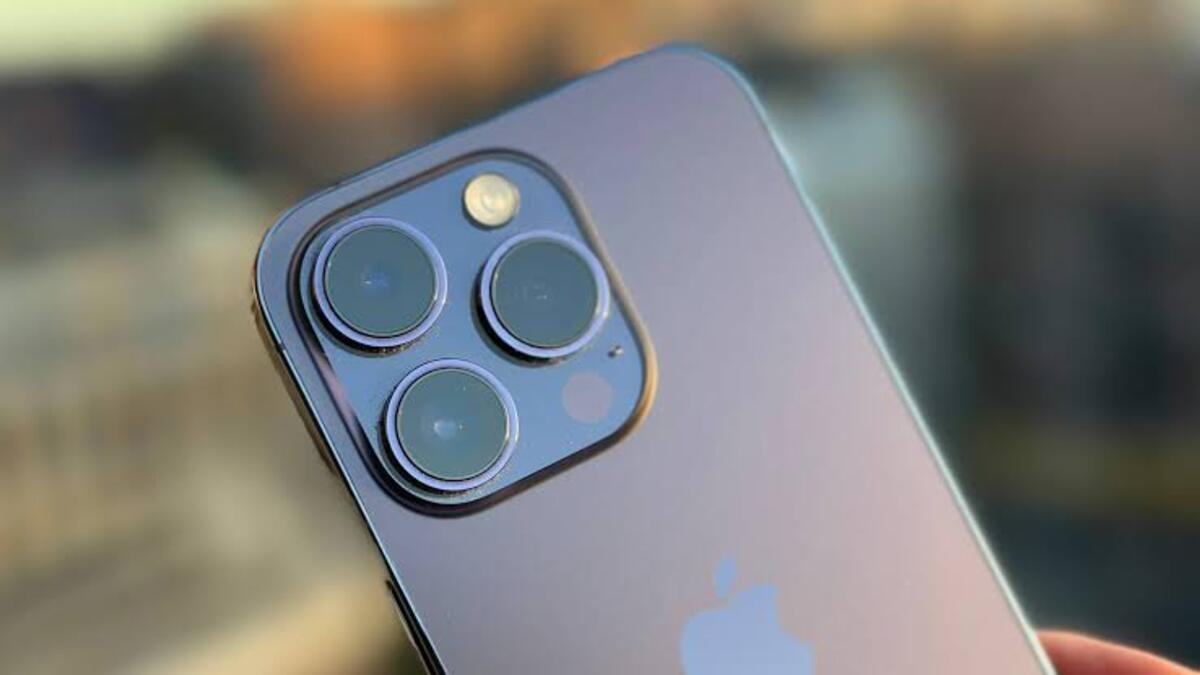
In recent years, the camera capabilities of smartphones have dramatically improved, making it easier than ever to capture high-quality photos and videos on the go. Apple’s iPhone is no exception, with its advanced camera features and intuitive user interface. One such feature is the Pro Camera mode, which allows users to manually adjust settings such as aperture, shutter speed, and ISO to take professional-grade photos. However, many iPhone users are unaware of this powerful tool or unsure of how to use it to its fullest potential.

In this guide, we will walk you through the basics of using the Pro Camera mode on your iPhone and provide tips for taking stunning photos with your device.
How To Use the Pro Camera Mode
Tweaking the Camera settings
To adjust your iPhone camera settings, launch the Settings app and scroll down to Camera. The first section is Formats, where you can switch between HEIF/HEVC and JPEG/H.264 output. If you use only Apple devices, leave HEIF/HEVC selected, as it consumes less storage space and is supported across all Apple operating systems. If you use other platforms that don’t support these formats, switch to the latter. You’ll also find toggles for Apple ProRaw and Apple ProRes, which allow you to take higher-quality photos and videos, respectively.
The next three sections control video resolution in regular, slo-mo, and cinematic modes. You can go as high as 4K at 60 fps, 1080p HD at 240 fps, and 4K at 30 fps for these video modes. Apple details how much storage a minute would consume for each resolution. Following the video resolutions, there’s a Record Stereo Sound toggle, which makes your output more immersive and realistic.
Other toggles include the Grid option, which adds guidance lines to the viewfinder to help you control proportions before taking a shot, and Photographic Styles, which offers four different styles that slightly adjust the tone and warmth of the output.
Using the iPhone Camera App
Once you’ve adjusted camera settings, launch the Camera app. Swipe up on the viewfinder to reveal additional options and customizations. The Time-lapse video recording mode shoots time-lapses, and you can stabilize your iPhone and start recording. The Slo-mo video recording mode allows you to control the zoom, exposure, and output quality, while the Cinematic video recording mode lets you focus on different individual subjects throughout a recording session.
The regular Video recording mode allows you to adjust the exposure and resolution, and there’s an Action mode toggle that helps stabilize footage in shaky environments. The Photo mode allows you to enable Night mode, Live Photos, timers, filters, and Photography Styles. You can adjust the ratio, exposure, and zoom, and if you’ve enabled ProRaw, the main camera will output 48MP shots in a well-lit place.
The Portrait mode lets you blur out the background and focus on a certain subject. You can pick between six different lighting effects and several filters and adjust the timer, exposure, and depth. Lastly, Pano mode allows you to take a panorama, and apart from the zoom, there’s nothing you can control.
Wrapping It Up
The Pro Camera mode on your Apple iPhone can take your photography skills to the next level, allowing you to capture stunning photos and videos with manual control over settings like aperture, shutter speed, and ISO. We hope this guide has been helpful in getting you started with the Pro Camera mode on your iPhone, and we encourage you to continue exploring its capabilities to discover new ways to express your artistic vision.
