How to Change Default Weather City on Apple Watch
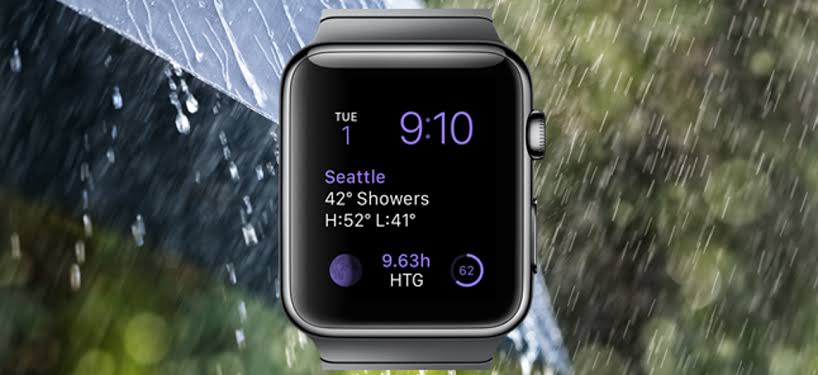
When you travel somewhere new, you generally want to know the weather there, not the weather back home. Certain elements, such as the current time, can be changed automatically on your Apple Watch and iPhone; however, your weather city must be changed manually if you change locations.

With that, you need to be well-oriented on the steps to follow. This guide will explain in detail how to change default weather city on Apple Watch. So, stay tuned as we get started!
Checking the weather on your Apple watch
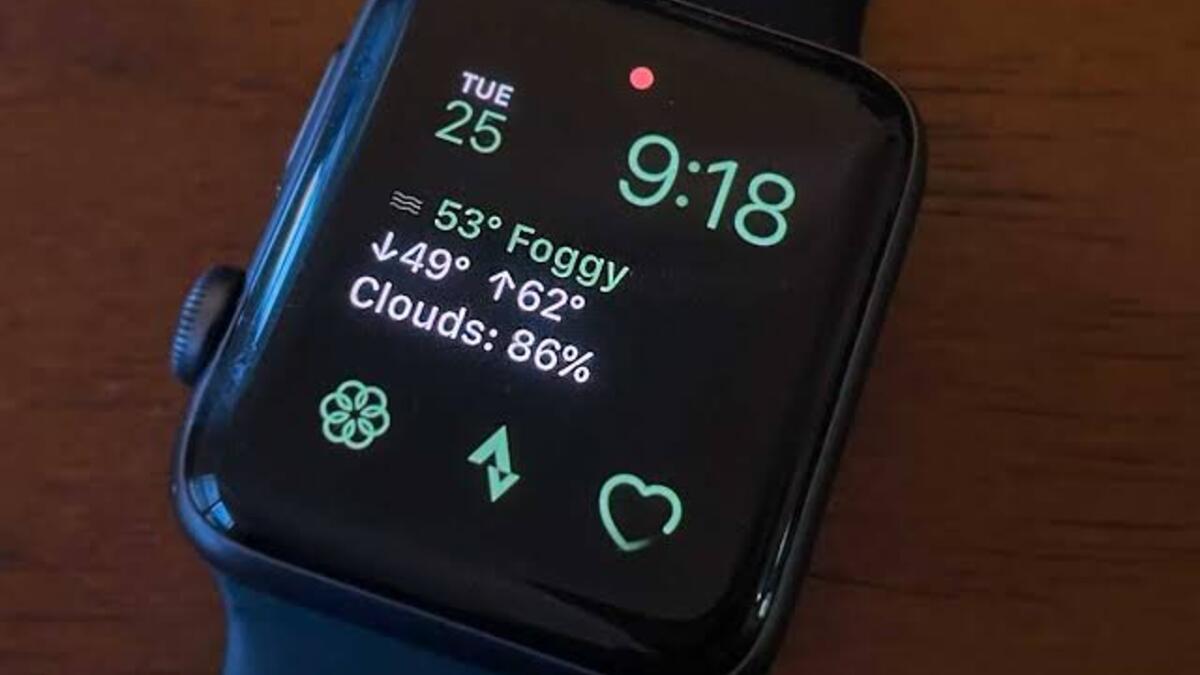
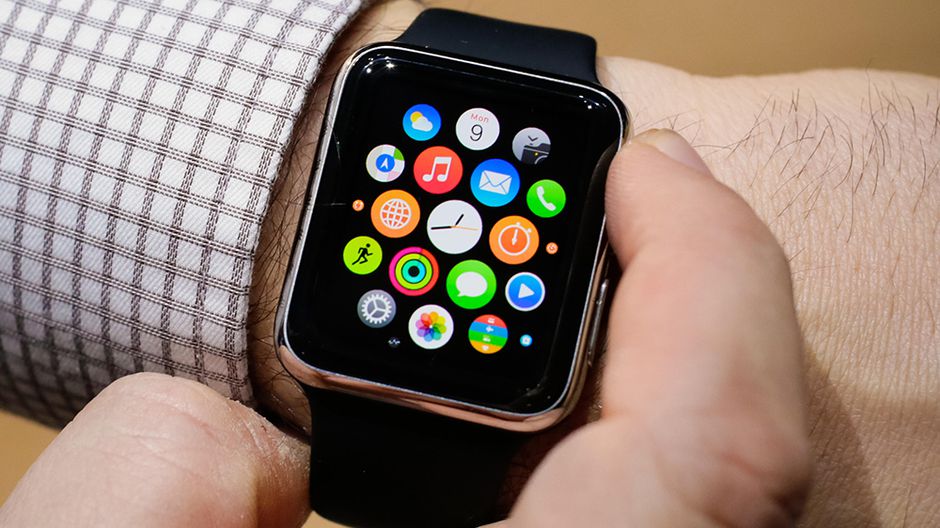
Your Apple Watch, like your iPhone, features a weather app where you can check the weather conditions and predictions for a list of cities. You can check weather info on your Apple Watch by tapping on a weather complication on your watch face or by opening the apple watch Weather app. When using the Weather app, here are the steps to follow:
- Open the Apple Watch Settings app.
- Scroll to the bottom and pick the Weather app.
- Toggle between temperature, weather, and the possibility of rain by tapping the screen.
- Swipe your finger down or tilt the Digital Crown to scroll down. You’ll find more information on the air quality, UV index, wind speed and direction, and the weather for the following several days.
- To access the list of cities in your Weather app, tap the back arrow/city name in the top-left corner of your screen.
How to Add/Remove Cities from the Apple Watch Weather App
- On your Apple Watch, launch the Weather app. If required, return to the list of cities by tapping on the city name at the top of your screen.
- Scroll to the bottom of the list of cities to locate the Add City button. Tap it to activate it.
- Enter a city name by typing (AW Series 7), using Scribble or dictation, or using your iPhone, and then selecting the city from the list of search results.
- On your Apple Watch, launch the Weather app.
- If required, press the back arrow/city name towards the top of the screen, then choose the city you want to delete from the list and slide left to show an X. Click the X.
How to Change the Default Weather City on Apple Watch
When you view weather info on your Apple Watch, you’ll always see the default city you have chosen. If you don’t know how to change the default weather city on your Apple Watch, here are the steps to follow;
- Open the Apple Watch Settings app.
- Scroll to the bottom and pick the Weather app.
- Select your chosen default city by tapping on Default City and you’re done.
Conclusion
There you have it on how to change default weather city on Apple Watch. Hopefully, you find this guide quite helpful as you proceed with the steps above. Just go through this guide thoroughly and you’re good to go!


