How To Fix Webcam Black Screen Issue on Windows 11/10
The webcam is one of the most important hardware components of a computer. It is also one of the most complex components, as it can often suffer from various issues, such as malfunctioning and the popular Webcam black screen issues. Recently, many people have been complaining about their webcams not working properly after upgrading to Windows 11/10.

If you’re one of them, don’t worry – this guide will show you how to fix webcam black screen issue on Windows 11/10 easily. So, stay tuned as we get started.
4 Potential Fixes to Webcam Black Screen Issue on Windows 11/10
1. Update your webcam drivers
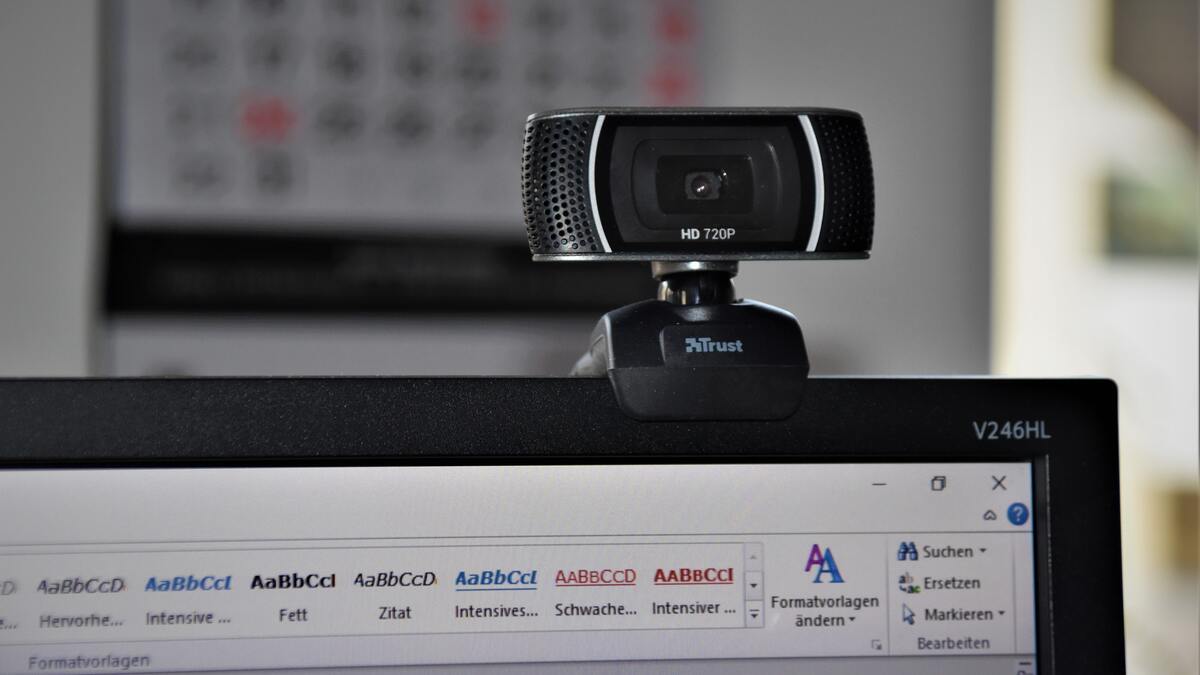
If you’re using an external webcam, the first thing you should do is make sure that it’s properly plugged into your computer. If it is, then you’ll want to check and see if there are any updated drivers available for your webcam.
You can usually find drivers for most webcams on the manufacturer’s website. Once you’ve downloaded and installed the updated drivers, restart your computer and see if the issue has been fixed.
2. Adjust your privacy settings
Another reason why you might be seeing a black screen when trying to use your webcam is because of your privacy settings. Windows 11/10 has a privacy setting that allows apps to access your camera, and if this setting is turned off, your webcam will not work.
To adjust your privacy settings, go to Start > Settings > Privacy > Camera. Make sure that the switch next to Allow apps to access your camera is turned On. Once done, check if the issue has been fixed. If not, go to the next solution.
3. Confirm that your webcam is compatible with your computer
A black screen with your webcam may occur if your webcam is incompatible with your PC. If you’re using an older model of a webcam, it may not be compatible with Windows 11/10, resulting in the black screen.
Due to that, if the scenario applies, you will need to replace your webcam with one that is compatible with your system. However, if the problem persists, proceed to the next possible solution to resolve it.
4 Remove any other USB devices and attach your Webcam to a different port
If you’re using a USB webcam, try disconnecting any other USB devices that are attached. This problem may occur if your system has too many USB devices attached. Simply remove any USB devices that are not currently in use and then check to see whether the problem has been rectified.
In addition to the previously mentioned solution, you can try attaching your webcam to a different USB port. Connect your webcam to every other USB port and check to see whether the problem has been resolved.
Final Words
There you have it on how to fix webcam black screen issue on Windows 11/10. It’s quite easy as you can see above. Just go through this guide and find the ideal solution for the webcam black screen issue on your PC.


