How to Screen Record on Mac in 2 Easy Ways
Screen recording has become an essential tool in various fields, including education, business, and entertainment. If you need to record a tutorial or capture a gameplay, screen recording makes it easy to create high-quality video content. On your Mac computer, there are two built-in options that you can use to take the perfect screen recording – QuickTime Player and Screenshot Toolbar. In this article, we will cover how to screen record on Mac using both of these tools.

How to screen record on Mac using QuickTime Player
QuickTime Player is a pre-installed media player on Mac computers. It has a built-in screen recording feature that makes it easy to capture video footage from your screen. Here’s how to use QuickTime Player to screen record on Mac:
- Launch QuickTime Player – you can find it in the Applications folder or search for it using Spotlight.
- Click File, then New Screen Recording.
- Set up the recording options – you can choose to record the entire screen, a selected portion of the screen, or a specific window.
- Start the recording – click the red Record button to begin recording.
- To stop the recording, click the Stop button in the menu bar to end the recording.
How to screen record on Mac using the screenshot toolbar
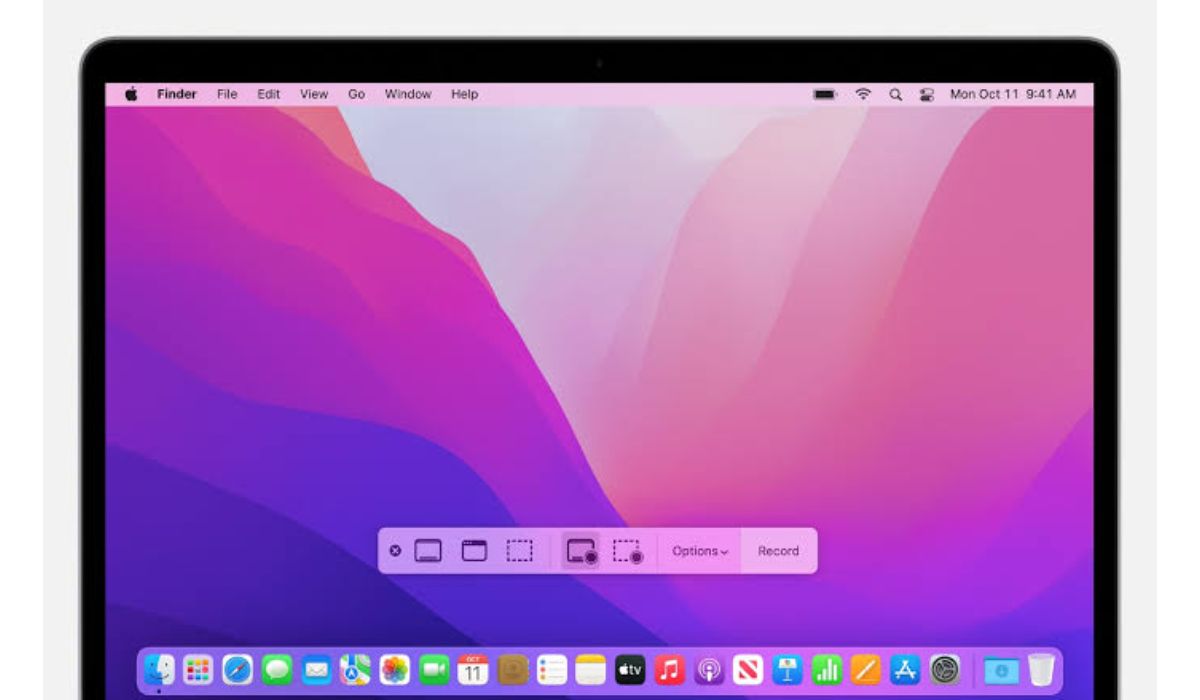
The Screenshot Toolbar is a built-in tool on Mac computers running macOS Mojave or newer. It allows you to capture screenshots and screen recordings. Here’s how to use the Screenshot Toolbar to screen record on Mac:
- Launch the Screenshot Toolbar by pressing Shift + Command + 5 on your keyboard.
- Set up the recording options – you can choose to record the entire screen, a selected portion of the screen, or a specific window.
- Click the Record button in the Screenshot Toolbar to begin recording.
- When you are done recording, click the Stop button in the menu bar to end the recording.
Tips for optimizing your recording quality
- Use a high-quality microphone for audio recording.
- Adjust the recording options to match your needs – for example, you can change the recording quality, screen resolution, and frame rate.
- Use a fast and stable internet connection if you’re recording from an online source.
Wrapping Up
If you have been wanting to screen record on your Mac, and have been looking for ways to do that, after going through this short guide, we are certain that you can now be able to pull this through either by using the QuickTime Player, or the screenshot toolbar.


