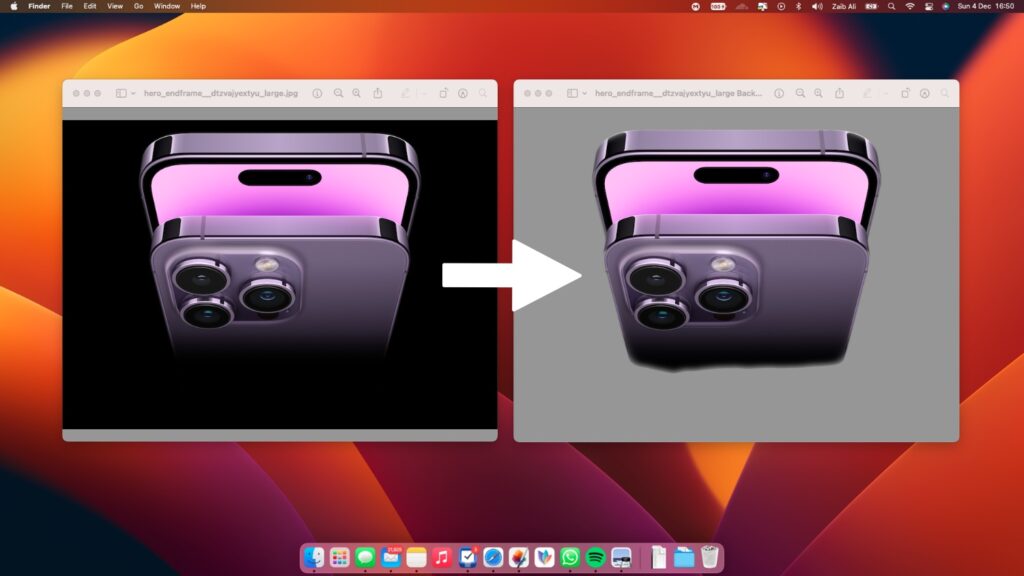
How To Remove Backgrounds From Images With macOS Ventura
Are you looking for an easy way to remove backgrounds from images using macOS Ventura? If so, then you’ve come to the right place! In this blog post, we’ll walk you through how to remove backgrounds from images with macOS Ventura in the most efficient and effective way possible.

Removing backgrounds from images with macOS Ventura doesn’t have to be complicated. At its core, the process involves selecting the area of the image you’d like to remove the background from and then using the tools within macOS Ventura to do so.
2 Ways To Remove Backgrounds From Images With macOS Ventura
Method #1: Using the Photos app
- Select a photo in the Photos app
- Next, right-click on the image
- Choose Copy Subject
- As you hover over Copy Subject, you’ll see the background dim with the subject that you’re auto-selecting showing as highlighted – keep your mouse there and the highlighted line will move around everything it’s going to capture
- Now you can paste the subject without the background anywhere you’d like
Method #2: Using Finder app on Desktop
- Navigate to the Finder app.
- Look for a photo you’d like to remove the background for.
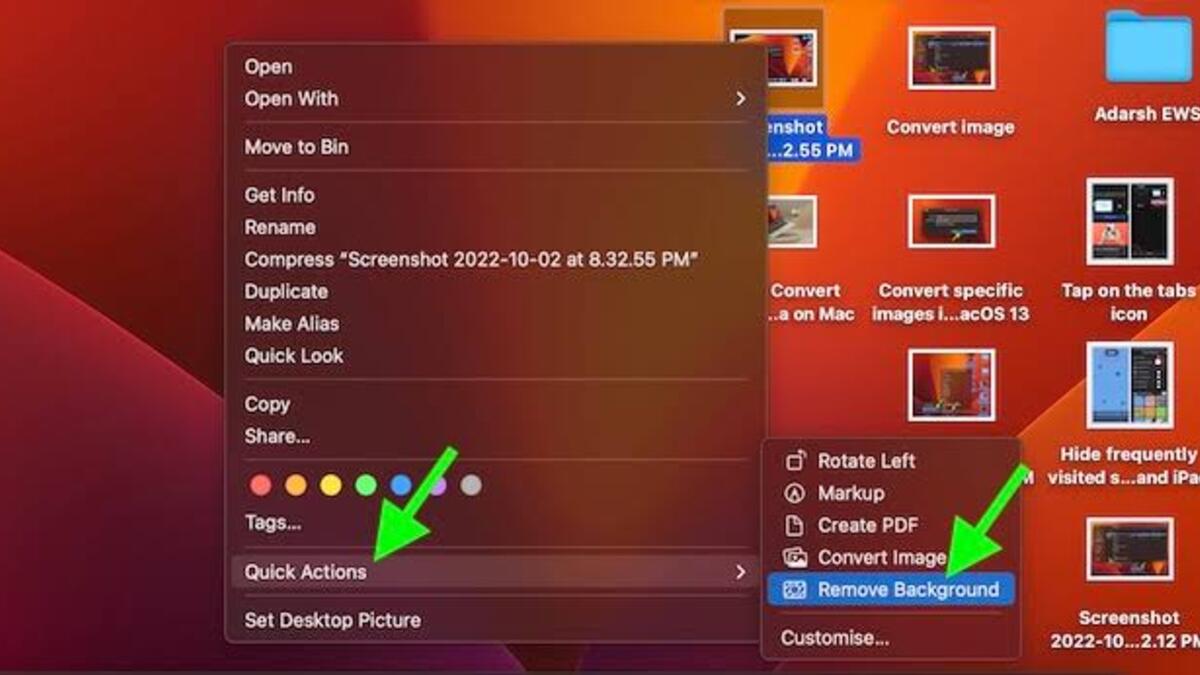
- Right-click on the image in Finder.
- Near the bottom, choose Quick Actions then click Remove Background
- The PNG copy of your image with the background will appear in a few seconds right next to the original image
Wrapping It Up
We hope this guide has been helpful in showing you how to remove backgrounds from images with macOS Ventura. With just a few simple steps, you can easily erase backgrounds from any image and create a professional looking final product. Whether you’re creating a design for a website or simply wanting to touch up an old photograph, removing backgrounds with macOS Ventura can help you get the job done quickly and easily.


