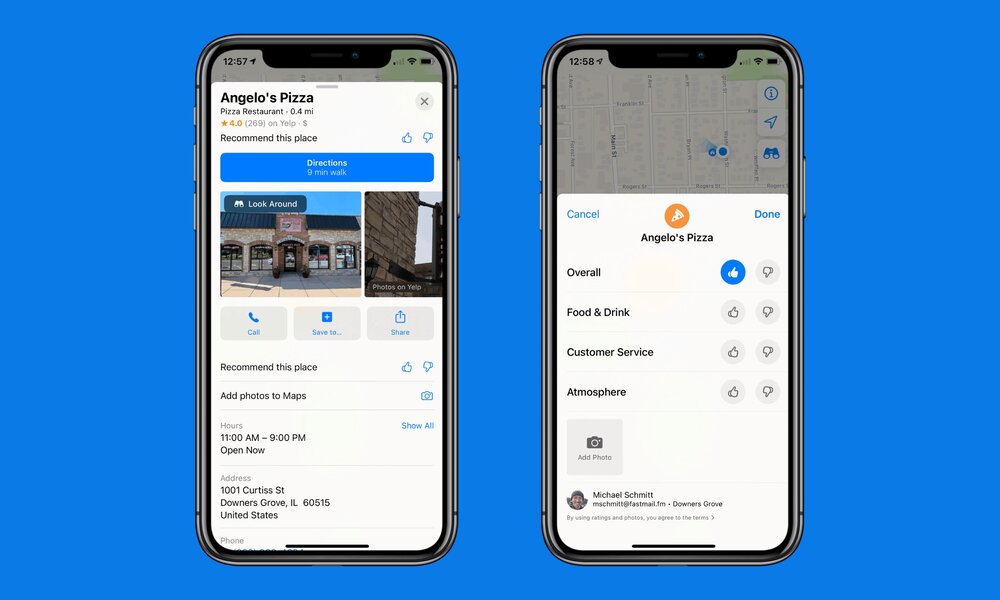
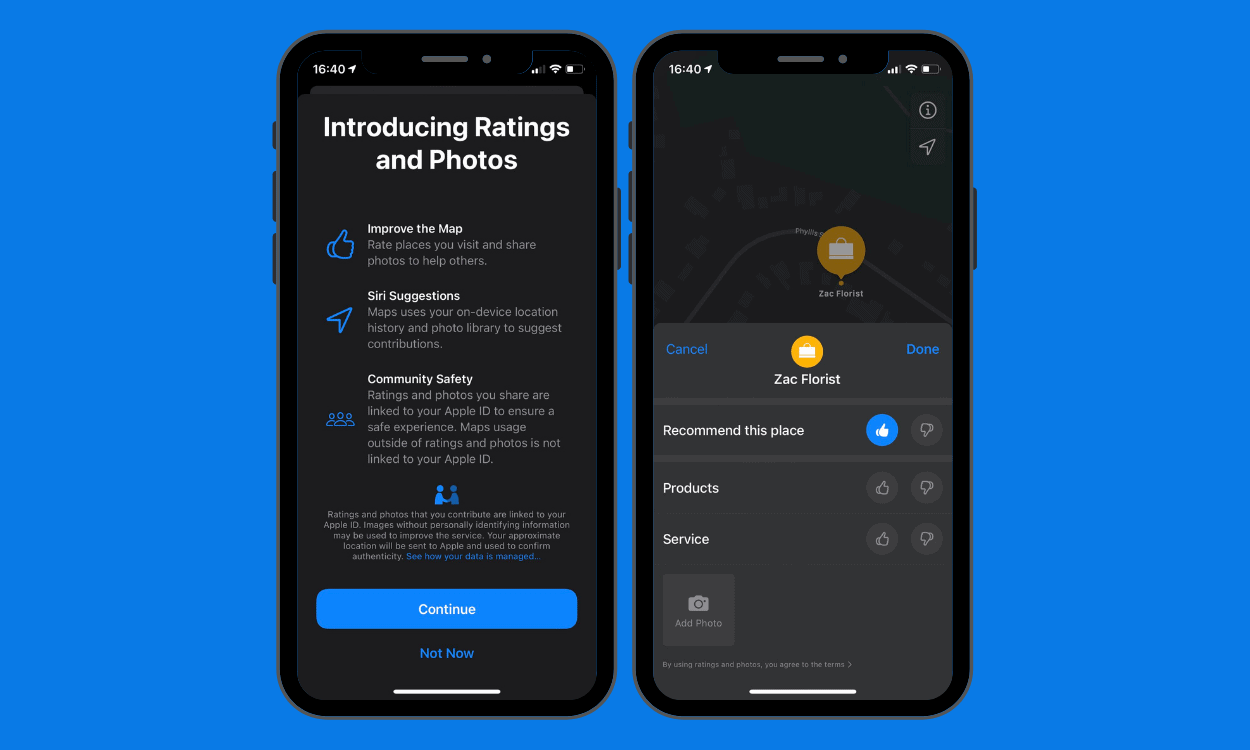
How To Add Your Business to Apple Maps
The importance of having a strong online presence can’t be overstated in today’s business climate. Gone are the days when it was enough to have an excellent storefront location or to rely on word-of-mouth referrals for business.
If you want your customers to find you, then you need them to find you – and that means that you need to make sure that geographical search engines like Apple Maps know where you’re located. Luckily, you can make it easy for your customers to locate you when you add your business to Apple Maps.

This guide will show you how to add your business to Apple Maps. So, stay tuned as we get started.
Types of Information you need
Adding your business to Apple Maps is a great way to get exposure to new customers and increase your visibility online. But before you can add your business, you need to gather some essential information. Here’s a quick rundown of the types of information you’ll need:
- Your business name, address, and phone number
- A description of your business
- Business hours
- A profile photo or logo
- The categories that best describe your business
- Payment methods accepted
- Contact information for the primary point of contact at your business
Steps to Add Your Business to Apple Maps
Adding your business to Apple Maps is a great way to get found by potential customers who are using their iPhones and other Apple devices to find local businesses. Here’s how to do it:
- Go to maps.apple.com and sign in with your Apple ID.
- Click on the “Add a Place” icon.
- Enter your business name, address, and phone number. Then click “Search.”
- Select your business from the search results and click “Claim this Place.”
- Follow the instructions to verify your ownership of the listing.
- That’s it! Once you’ve claimed your listing, you can add photos, edit your business information, and more.
Tips and Tricks for Adding Your Business to Apple Maps
Are you trying to add your business to Apple Maps, but not having much luck? Here are a few tips and tricks that might help you get your business listed on Apple Maps.
- Make sure you have a valid business address: Apple Maps won’t list businesses without a verified physical address.
- Add as much information as possible to your listing: The more info you can provide about your business, the better chance you have of being listed on Apple Maps.
- Use keyword-rich descriptions: When writing your business description, be sure to include relevant keywords that potential customers might use when searching for businesses like yours on Apple Maps.
- Optimize your website for local search: In addition to adding your business to Apple Maps, you can also improve your chances of being found by potential customers by optimizing your website for local search. This means including relevant keywords on your website, as well as making sure your NAP (name, address, and phone number) is consistent across all of your online listings.
Also read: How to track someone on Google Maps without them knowing
Conclusion
There you have it on how to add your business to Apple Maps. Adding your business to Apple Maps is a great way to ensure that customers can easily find your location. The process is simple and only takes a few minutes to complete.
Plus, once your business is added, you can take advantage of features like adding photos and business hours to make sure that customers have all the information they need to find you. So if you’re ready to get started, head over to Apple Maps and add your business today!


