How to set up or transfer an eSIM on iPhone in a quick step-by-step guide
If you’re setting up a new iPhone or upgrading to the latest iPhone 14 model, transferring your data is a breeze. However, there’s one aspect that can be a hassle: switching SIM cards. Fortunately, the solution is simple: the eSIM. This digital SIM eliminates the need for a physical card and makes the setup process seamless. As long as your iPhone is being used with a wireless carrier or provider that supports it, the eSIM works with any iPhone model. With the eSIM, you can even install up to eight or more digital SIMs on a single phone, allowing you to use two phone numbers simultaneously.
How to set up or transfer an eSIM on iPhone

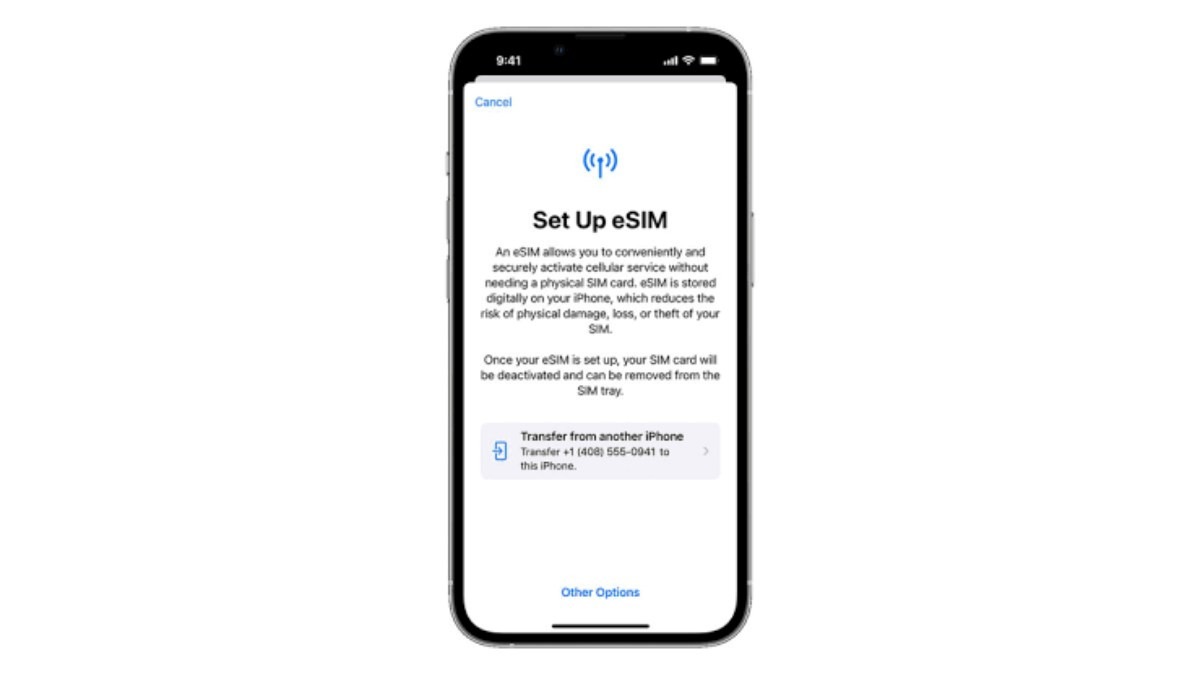
How to set up an eSIM on iPhone
If you have an iPhone and are looking to set up an eSIM, it’s an easy process as long as you have a Wi-Fi network and your carrier has assigned an eSIM to your iPhone at the time of purchase. Here are the step-by-step instructions:
- Connect your iPhone to a Wi-Fi network.
- During the iPhone setup process, you’ll have the option to activate an eSIM. If you don’t see this option, skip to step 7.
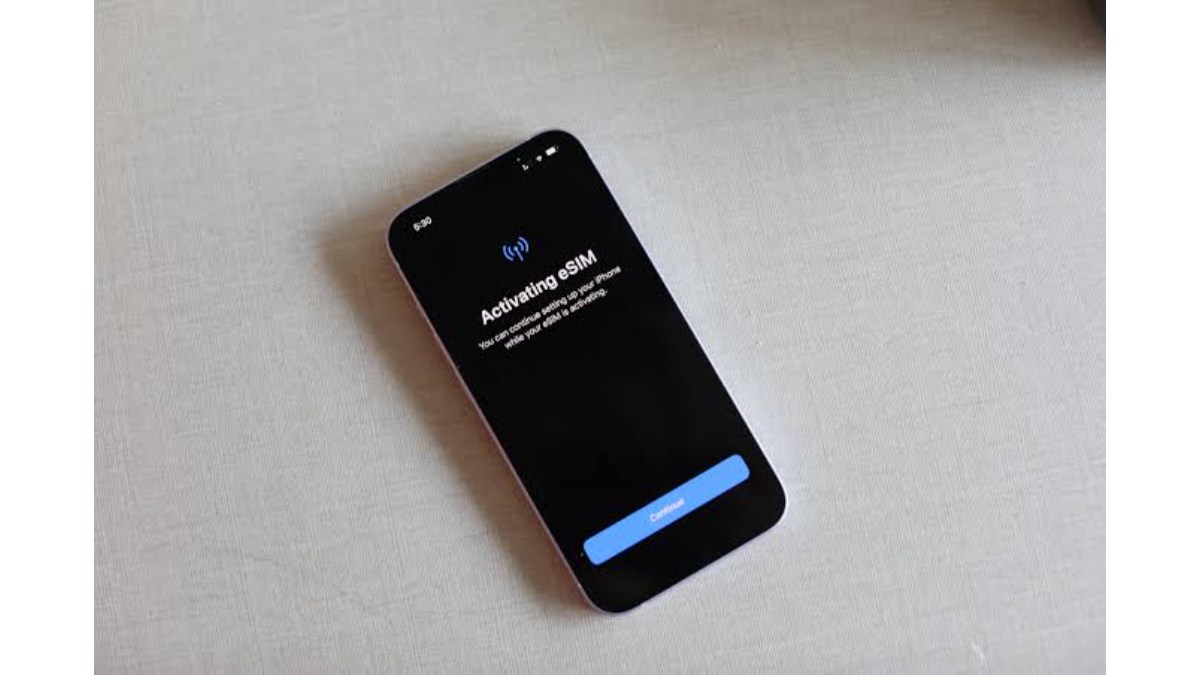
- Select the option to activate an eSIM.
- Your carrier will need to activate the eSIM plan on their end.
- Once the carrier has activated the plan, you’ll receive a notice that says “Carrier Cellular Plan Ready to Be Installed”.
- Under Settings, select “Carrier Cellular Plan Ready to Be Installed” and tap “Continue” at the bottom of the screen.
- Follow the instructions provided on the screen.
If you bought a used phone or one outside of your carrier, there is also an eSIM Quick Transfer option that allows you to transfer your SIM from your previous iPhone to your new one without involving your carrier. Here are the steps for this method:
- Open the iPhone app of your carrier.
- Look for a QR code that can be scanned.
- On your new iPhone, go to Settings > Cellular > Add Cellular Plan.
- Scan the QR code with your new iPhone.
- Follow the instructions provided on the screen.
If you’re switching from Android to iPhone, you will need your carrier to transfer your phone number using eSIM Carrier Activation. Contact your carrier for assistance.
If you don’t see the option to set up an eSIM while setting up your new phone, contact your carrier for activation or use the QR code provided in the carrier’s iPhone app. With these easy steps, you can set up an eSIM on your iPhone in no time!
How to transfer an eSIM on iPhone
Here’s a quick step-by-step guide on how to transfer an eSIM from one iPhone to another:
- Make sure both iPhones are turned on and connected to the same Wi-Fi network.
- On the new iPhone, go to Settings > Cellular.
- Select Add eSIM.
- Choose whether to transfer a phone number from a nearby iPhone or use a QR code provided by your wireless carrier.
- Follow the instructions that appear on your old iPhone, which may include inputting a verification code or going to the wireless carrier’s page to transfer the eSIM.
- Wait for the cellular plan to activate. Once it is active, the old SIM card will be deactivated, and you can start using your new eSIM.
If you see the Convert to eSIM option under Cellular, some carriers offer an option to convert a physical SIM card to an eSIM on the same iPhone. If this option is available, you can proceed with it and follow the steps. If you require further assistance, contact your carrier.


