How to Disable Microsoft Defender in Windows 11
Microsoft Defender is a built-in antivirus software provided by Microsoft to keep your device and data safe from malware, viruses, and other malicious activities. However, there might be some scenarios where you might need to disable Microsoft Defender in Windows 11, such as when you want to use a third-party antivirus or for some specific troubleshooting purposes. In this blog post, we’ll guide you through the process of disabling Microsoft Defender in Windows 11 using two different methods.

How to Disable Microsoft Defender in Windows 11
Disable Microsoft Defender Using the Windows Security App
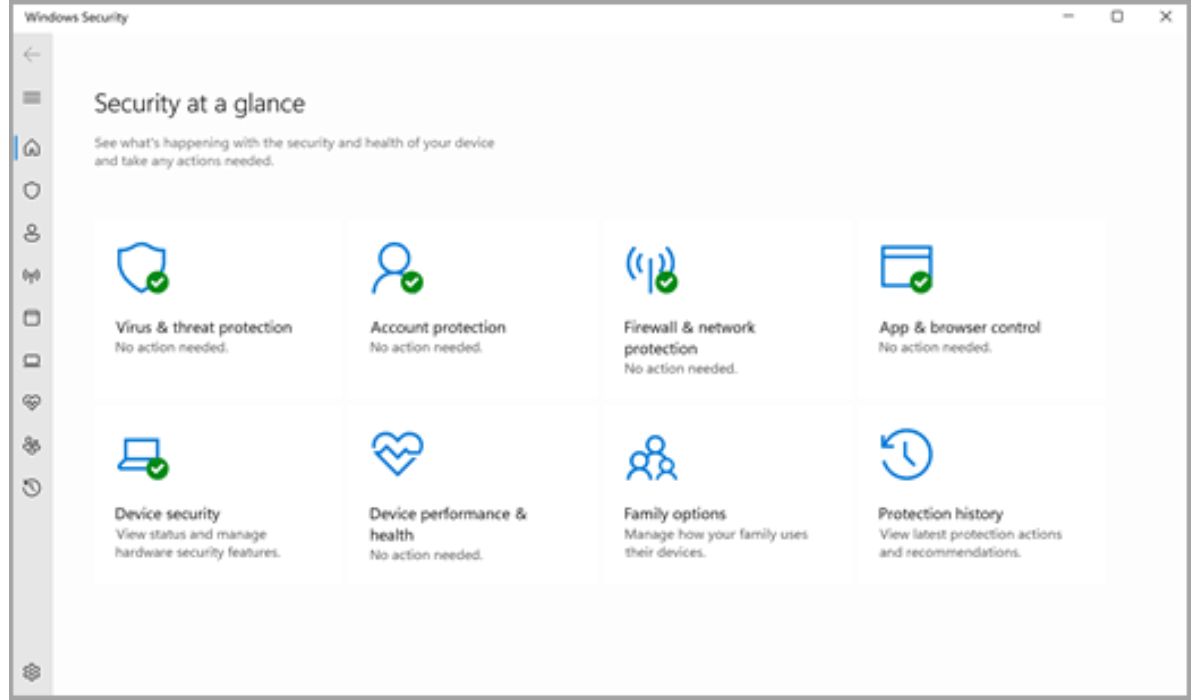
The Windows Security app is the easiest way to disable Microsoft Defender in Windows 11 however it can only be used if you want to temporarily disable the antivirus software. Follow the steps mentioned below to disable it using the Windows Security app:
- Open the Windows Security app by clicking on the Start button and searching for “Windows Security.”
- In the Windows Security app, click on the “Virus & threat protection” option.
- Click on the “Manage settings” option under the “Virus & threat protection settings” section.
- Toggle the “Real-time protection” switch to the “Off” position.
By using this method, you can easily disable Microsoft Defender in Windows 11. However, keep in mind that after a while Windows will enable it again automatically. If you are looking for a more permanent fix, use the below method.
Disable Windows Defender Using the Registry Editor
- Click on Start, then Settings.
- Click on Privacy & Security, Windows Security.
- Click on Virus & threat protection.
- Under Virus & threat protection settings, click on Manage settings.
- Scroll down to the Tamper Protection option, and toggle Off the slider.
- Select Yes to save the changes.
- Close the window.
Next, go through the following process:
- Press the Windows key + R key to open the Run command.
- Type “regedit” in the Run command and press Enter.
- In the Registry Editor, navigate to “HKEY_LOCAL_MACHINE\SOFTWARE\Policies\Microsoft\Windows Defender.”
- Right-click on the “Windows Defender” folder and select “New” -> “DWORD (32-bit) Value.”
- Name the new value as “DisableAntiSpyware” and set its value data to “1”.
- Restart your computer to apply the changes.
By using this method, you can disable Microsoft Defender in Windows 11 effectively. However, keep in mind that making changes to the Registry Editor can be dangerous, and it’s recommended to back up the registry before making any changes.
Conclusion
In conclusion, disabling Microsoft Defender in Windows 11 is a straightforward process especially with the first method, however, you can also disable it using the registry editor. It’s important to remember that disabling Microsoft Defender leaves your device vulnerable to malware and viruses. Hence, it’s recommended to re-enable it as soon as you finish your task or install a third-party antivirus to keep your device and data safe.


