How to Fix JNI Error Has Occurred in Minecraft with 2 Easy Steps
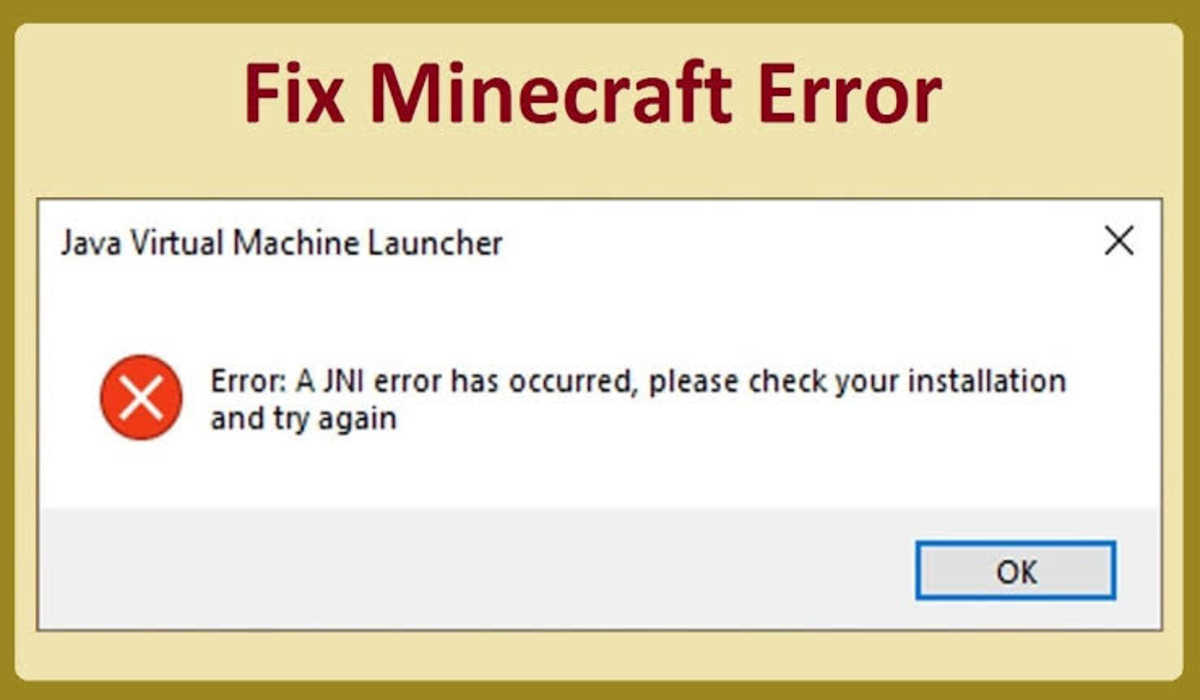
If you’re playing Minecraft and you suddenly see an error message that says “A JNI error has occurred, please check your installation and try again”, don’t panic! This is a relatively common error, and there are a few things you can do to fix it.

This error mostly occurs in version 21w19a and more recent versions. The following are possible reasons for its occurrence.
- Java Installation is outdated – The latest version of Minecraft requires that Windows be updated to the latest version for it to function properly. This is unlike the previous Minecraft installations which were easily compatible with older java versions.
- Java’s system variable path is corrupted.
How to Fix JNI Error Has Occurred in Minecraft
Follow the below guidelines to fix the JNI error has occurred in Minecraft…
1. Update Java to the latest version
Like has been discovered, the JNI error mostly occurs when you are running an old installation of Java. Updating to the latest Java version can remedy this issue. Follow these steps to install the latest Java software:
- Go to Oracle’s official website to download the latest version of Java. Make sure you install the correct package according to your OS type (Linux, macOS, Windows).
- After successful download, install it on your system by following the on-screen instructions.
- Now go back to your game to see if it successfully fixed the JNI error occurring in Minecraft. If not, try the next fix.
2. Remove Broken System Path Variables for Java
Another possible culprit of the JNI error is a corrupted system variable path for Java. To fix this, we will have to find our way into the System Properties screen and modify the Environment Variables to remove the Java Environment variables. Follow these steps to proceed:
- Press the Win+R keys to open the Run dialog box and press Enter.
- Switch to the Advanced tab in System properties and click on the Environment variables button.
- Under the System variables, select ‘Path’ and click on the Edit button.
- Now using the “Delete button”, remove the corrupted Java variable paths and reboot your PC.
If you get confused as to what variable to delete, just delete all and install Java again following the steps above. After that, run your Minecraft game again and see if the JNI error has been fixed.
ALSO SEE: HOW TO FIX MINECRAFT GAME HAS CRASHED WITH EXIT CODE 0
The two methods above can successfully fix the JNI error that’s occurring in Minecraft. If you try any and it works, do well to share this post with those you know may be facing the same problem.


