How to Screenshot on a Laptop (Windows 10, 8 & 7)
Screenshots have gained popularity in recent years as a quick and easy way of expressing ideas and images. The screenshot tool has been useful since the release of Windows Vista and continues to be the most simple way of making and preserving an image on your laptop. Modern laptops running Windows 7, 8, 10, and other operating systems such as Mac and Linux come with built-in screenshot features.
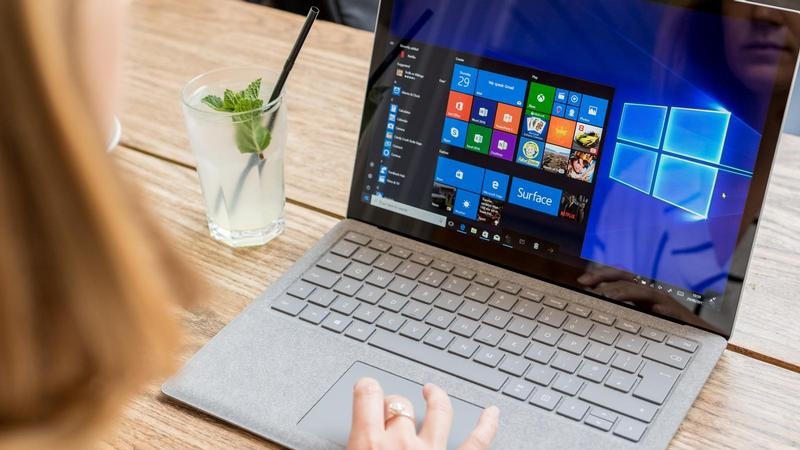
Meanwhile, learning how to screenshot on a laptop (Windows 10, 8 & 7) system is the most convenient way to save or share any visual content from a website, program, or video game. With just a few clicks, you may transmit it via email, social media, or file-sharing services. In this guide, we will take a look at how to screenshot on a laptop with Windows 10, 8 & 7. Thus, without much further ado, let’s get straight to the point;
Basic Steps on How to Screenshot on a Laptop (Windows 10, 8 & 7)
All latest versions of Windows, including 7, 8, and 10, have the Snipping Tool feature. This program will make it simple for you to take screenshots on your laptop. You can quickly open it by typing the name into the toolbar search box. The following are some steps to take a screenshot on a laptop running Windows 10, 8, or 7, using the Snipping Tool;
- Press the ‘Start button, then type ‘Snipping Tool’ into the search box that appears. Click the Snipping Tool icon to start the program.
- After typing the correct word, press Enter to start the program automatically.
- When you click the “New” button to start snipping, the entire screen turns gray. After that, you can select and save the part you want to capture.
- Now, you can modify the screenshot using a pen, highlighter, or eraser tool. You can also use the Snipping Tool to highlight something in the screenshot and email it immediately.
- Thereafter, press the Save button. To do so, go to the Save As dialog box, type the file name you want, and then click Save. To replicate your current screen, hit the fn + PrintScreen key which is abbreviated as PrtSc, on your keyboard. This will store the screenshot in the OneDrive photos folder automatically.
- Press Ctrl + V to paste the screenshot into a Microsoft Word document or a blank document in any editing application.
Also read: How to take screenshots on Android phone
