How To Stop macOS from Automatically Installing App and Software Updates
When you buy a new Mac, such as the MacBook Pro (2023), it comes with the latest operating system, macOS Ventura, which operates based on the default settings. However, these settings may not always match our personal preferences, needs, or expectations. Luckily, macOS Ventura makes it easy to customize your settings and prevent automatic updates.

In this guide, we’ll be having a look at how to stop macOS from automatically installing app and software updates. With that, you can regain control over when you update your system.
Basic Steps to Stop a Mac from installing updates Automatically
Step 1: Launch the System Settings app
First, you need to launch the System Settings app, which is where you’ll find the settings for software updates. You can access this app by clicking on the Apple icon in the top-left corner of your screen and selecting System Preferences.
Step 2: Tap on General
Next, you need to click on the General tab, which is where you’ll find the settings for automatic updates. You’ll see several options, including settings for Appearance, Sidebar, and Recent Items.
Step 3: Click on Software Update
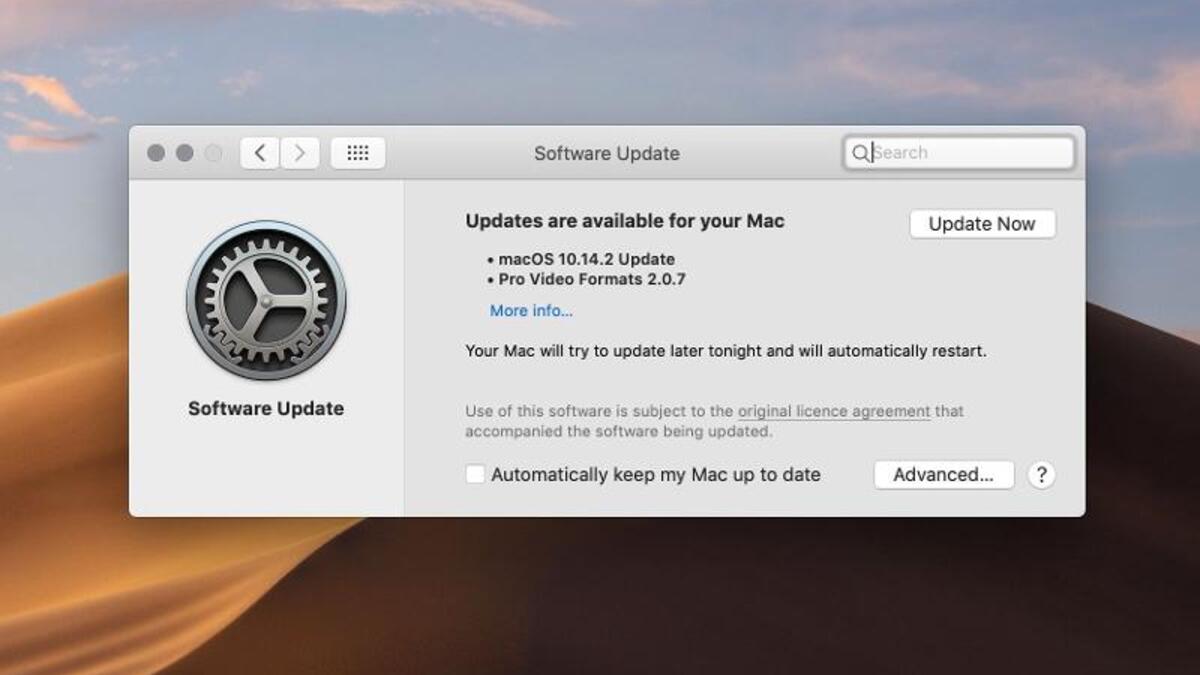
Now, you need to click on the Software Update tab, which is where you’ll find the settings for automatic updates for macOS and app updates from the Mac App Store.
Step 4: Tap the (i) button towards the top right corner
Once you’re in the Software Update tab, you’ll see an information icon (i) towards the top right corner of the window. Click on this icon to access additional settings.
Step 5: Disable Install macOS updates and/or Install application updates from the App Store
Now you can disable automatic updates by unchecking the boxes next to Install macOS updates and Install application updates from the App Store, based on your personal preferences. By doing so, your Mac won’t download or install any software or app updates automatically.
Step 6: Install updates manually after you review them
Once you disable automatic updates, you’ll need to review updates manually and install them at your convenience. When updates become available, you’ll receive a notification, and you can choose to install them by opening the System Settings app, clicking on Software Update, and following the instructions.
Note: If you change your mind and want to enable automatic updates again, you can follow the same steps above and check the boxes next to Install macOS updates and Install application updates from the App Store.
However, it’s important to note that you should not disable the Install Security Responses and system files toggle. This setting allows Apple to deliver critical security patches through automatic updates, which can protect your Mac from potential threats. All users are advised to apply these updates as soon as possible to ensure maximum security.
Final Words
Disabling automatic updates on your Mac is an easy process that can help you take control of your system and avoid any potential issues caused by unexpected updates. By following the steps above, you can customize your settings and install updates manually, while still keeping your Mac secure with critical security patches


